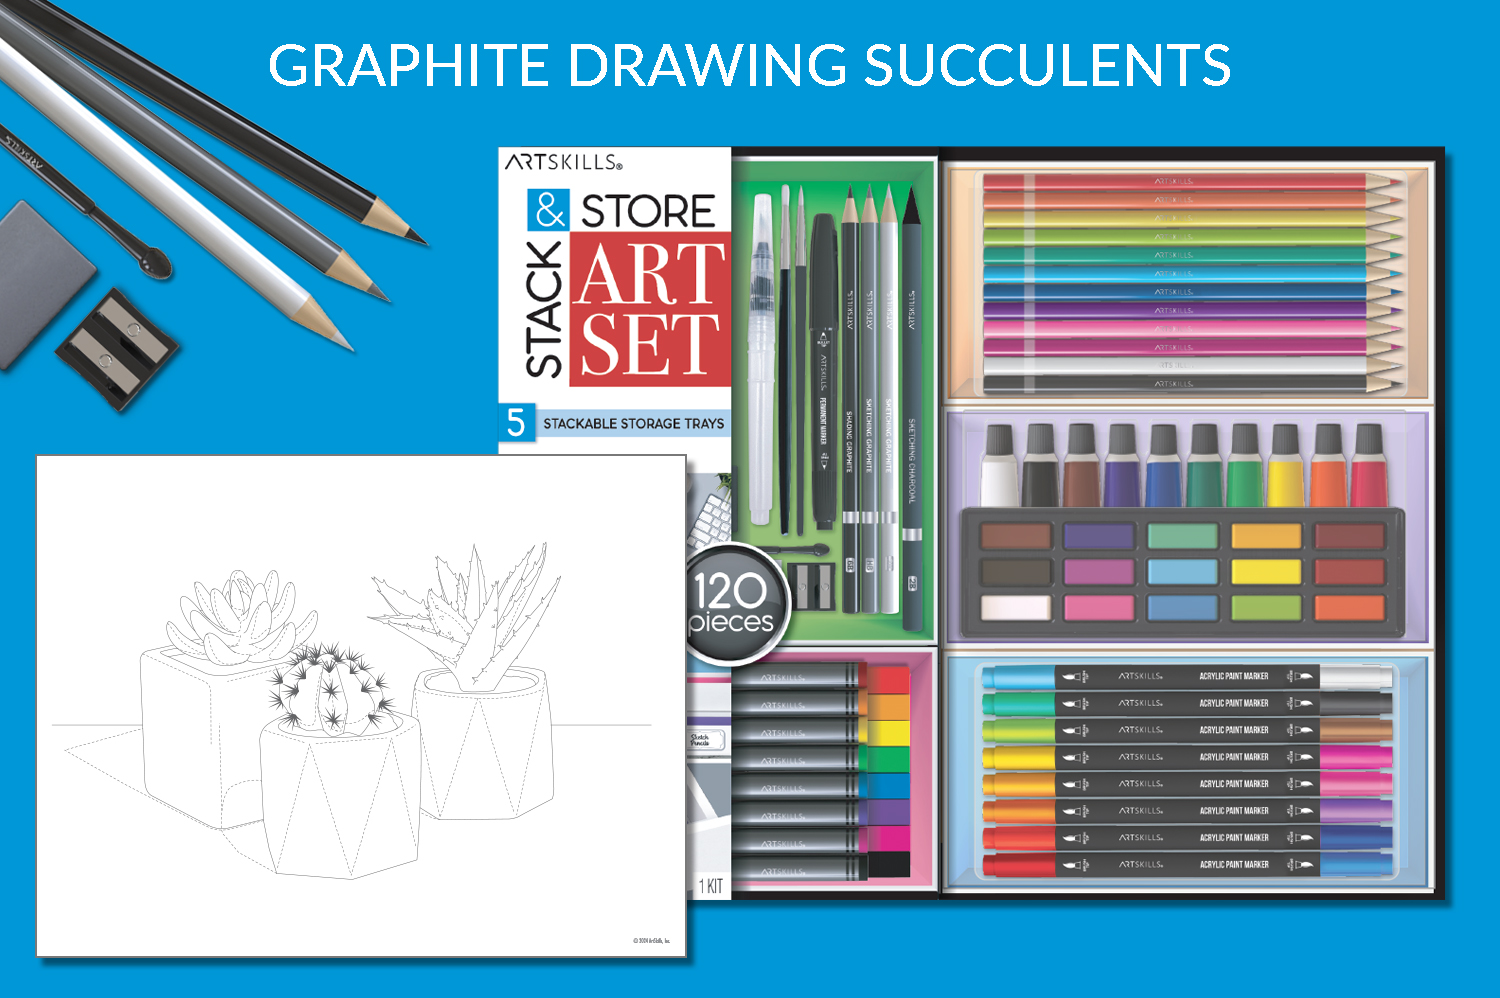
This printable project teaches you tips and techniques about the traditional graphite pencil medium, perfect for artists of any age! Follow the steps below to create some Graphite Succulents
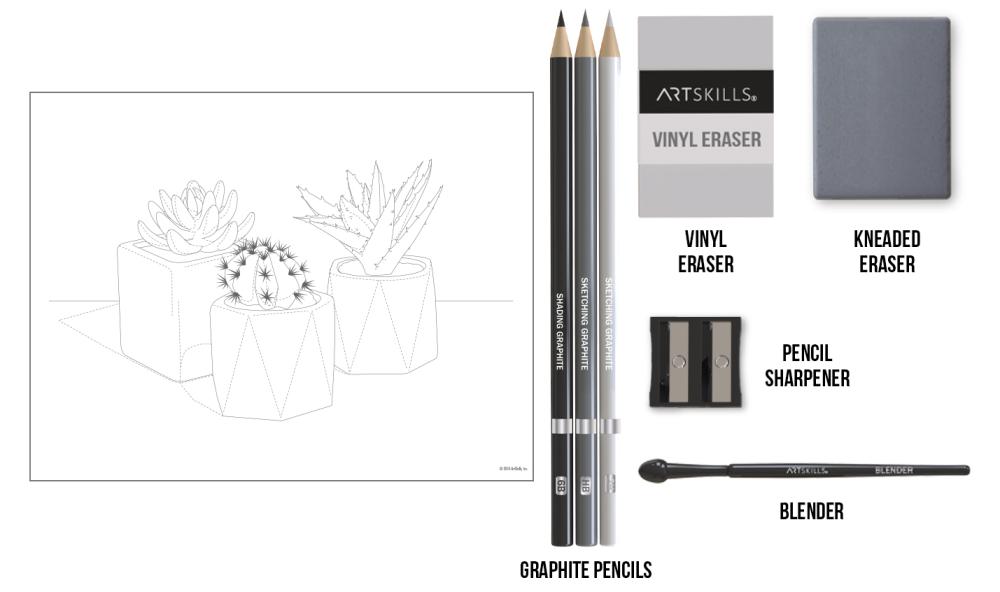
Supplies Needed
This project works best when using the materials shown below. These items can be found in the ArtSkills Stack & Store Art Set!
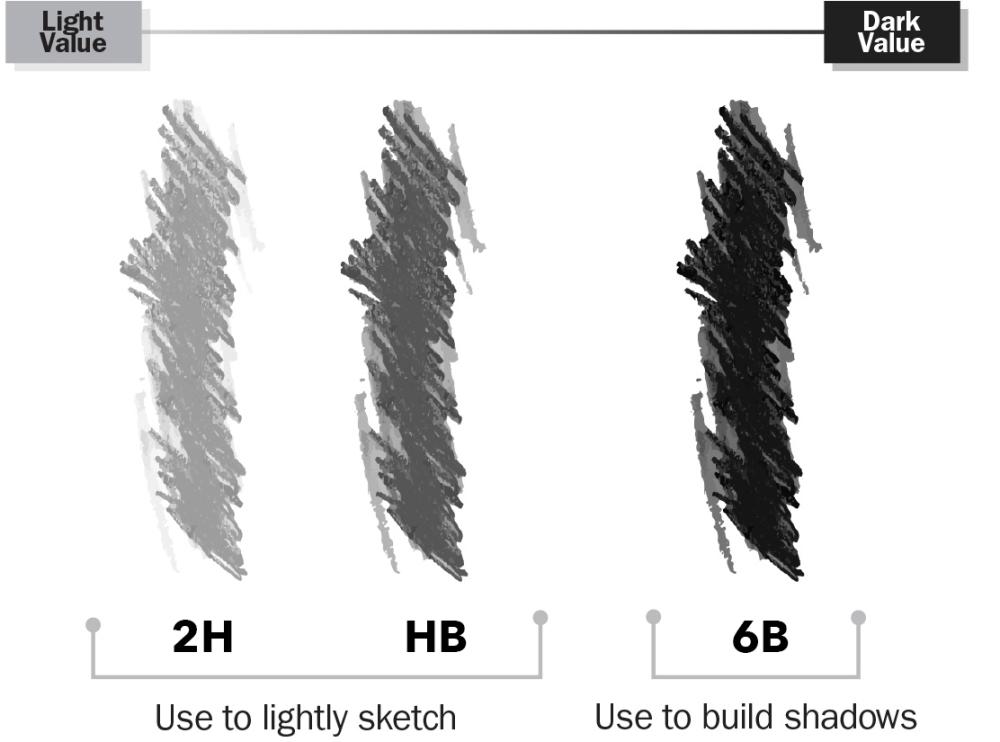
Pencil Firmness Graphite can be baked and compressed into different degrees of firmness. A pencil's mark will be lighter or darker depending on how the graphite is baked and compressed. The softer a pencil's firmness, the darker of a mark it will leave; similarly, the firmer a pencil is, the lighter its mark will be. Use the chart below as a quick guide to your pencils' levels of firmness and darkness.
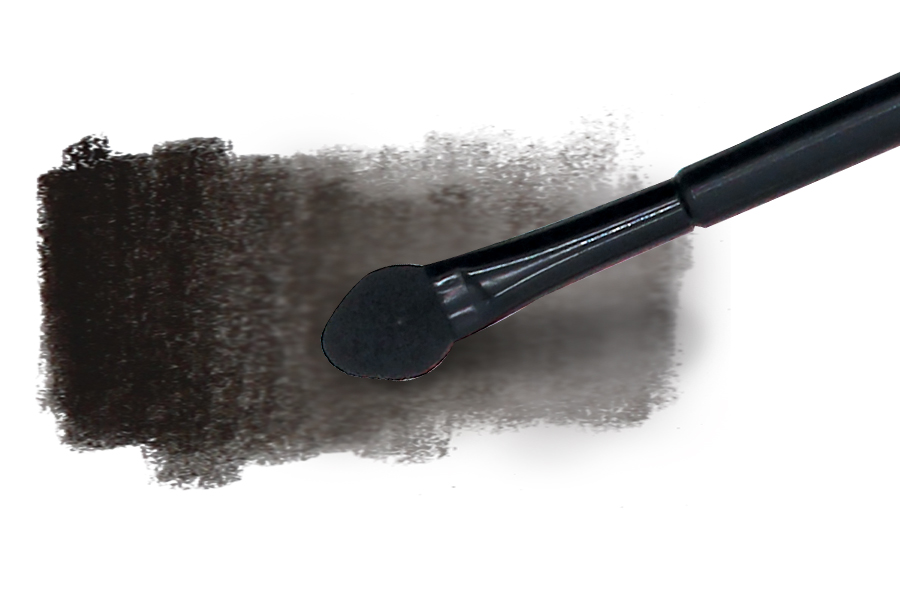
Using the Blender A blender, also known as a sponge applicator, is used to "smudge" or blend marks made with graphite pencils. Push lightly to soften your marks and blend them together. Rub a graphite-covered blender over a white area on your page to create a light, smooth shade.
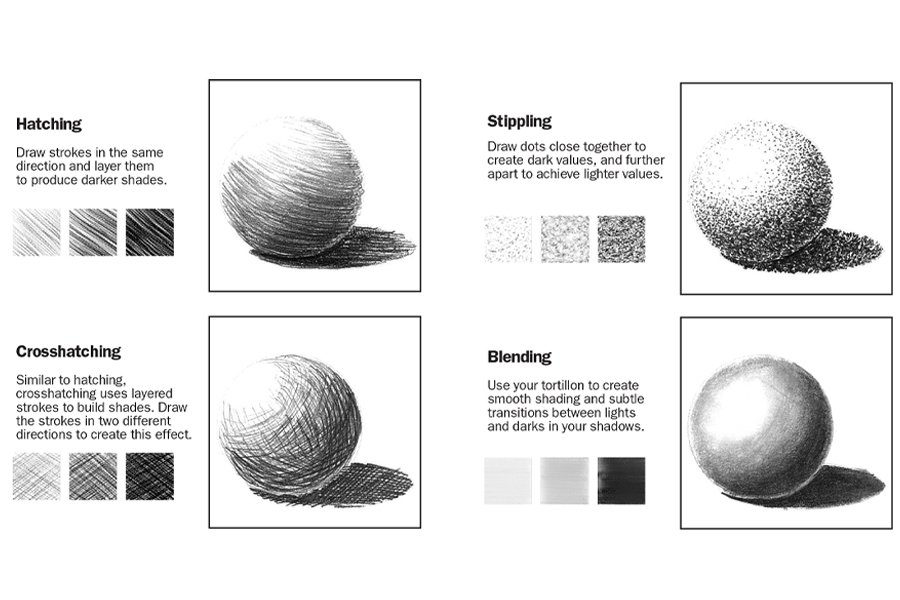
Quick Shading Techniques
Graphite can be layered in many ways. Depending on how you lay down your marks, you can achieve different styles. Look at the examples below for some unique shading techniques that you can apply to any graphite drawing.
Lighting
When light hits an object, the area it most directly hits will become a highlight. This area will appear in the lightest value. The part of the object on the opposite side of the light source will be in shadow. This area will be the darkest value on the object.
Think about how light will travel across the surface of different objects. Some shapes, like spheres, will have smooth transitions between values. Objects with flat surfaces, like cubes, will have harsh transitions.
Let's Get Started!
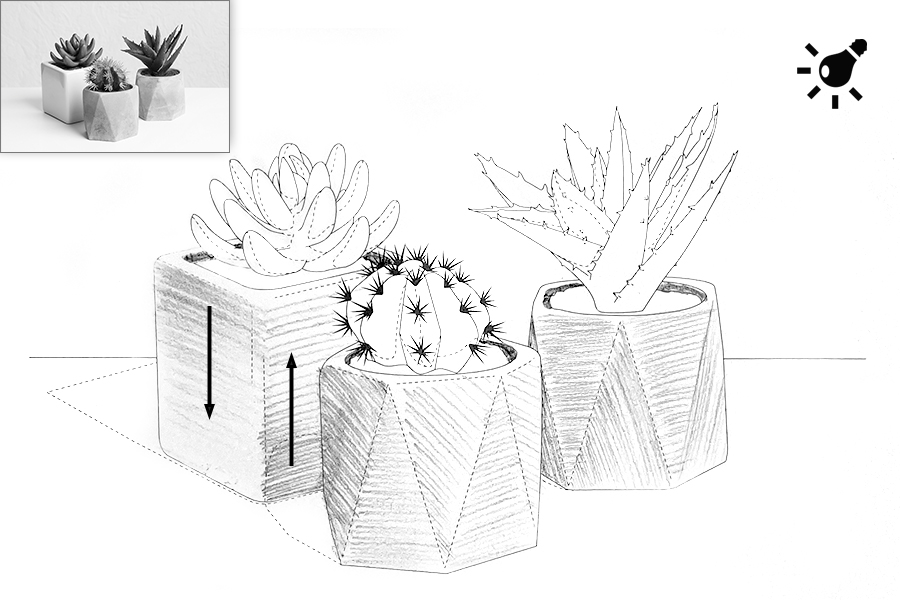
STEP 1: Using the outlines on the printed project sheet and the reference photo as your guide, lightly shade in the flower pots with the 2H pencil. We shaded used a hatching technique. Changing the direction of your hatch lines from panel to panel can help you visualize the shapes of the pots. Take note of the light source, indicated with the light bulb. Notice how the light hits each flat panel of the pots. Some panels will be lighter or darker depending on how directly the light hits them.
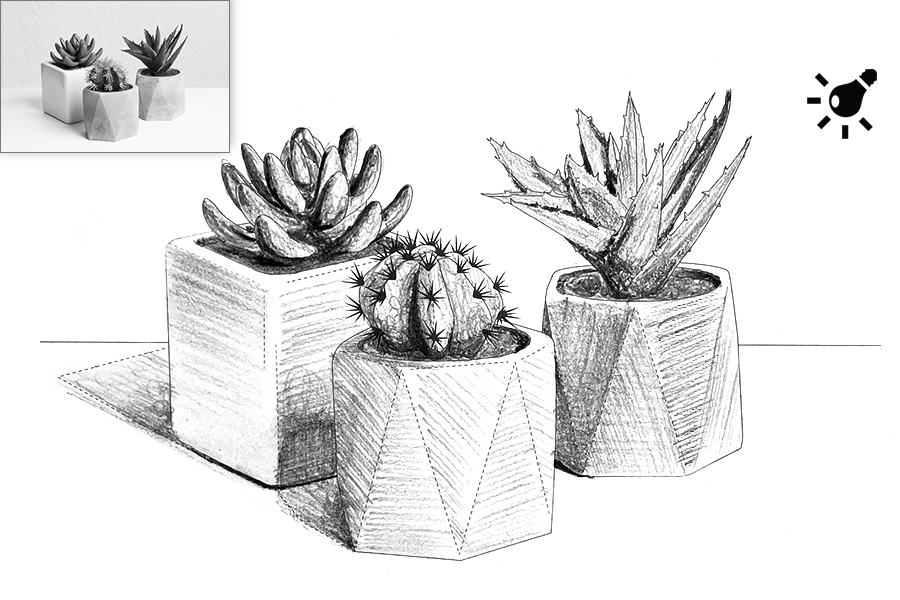
STEP 2:
Because the succulents and dirt are darker than the pots, use your HB pencil to shade those in. Use the dotted lines as a guide for the placement of the shadows. Continue using the HB pencil to darken the shadows on the pots.
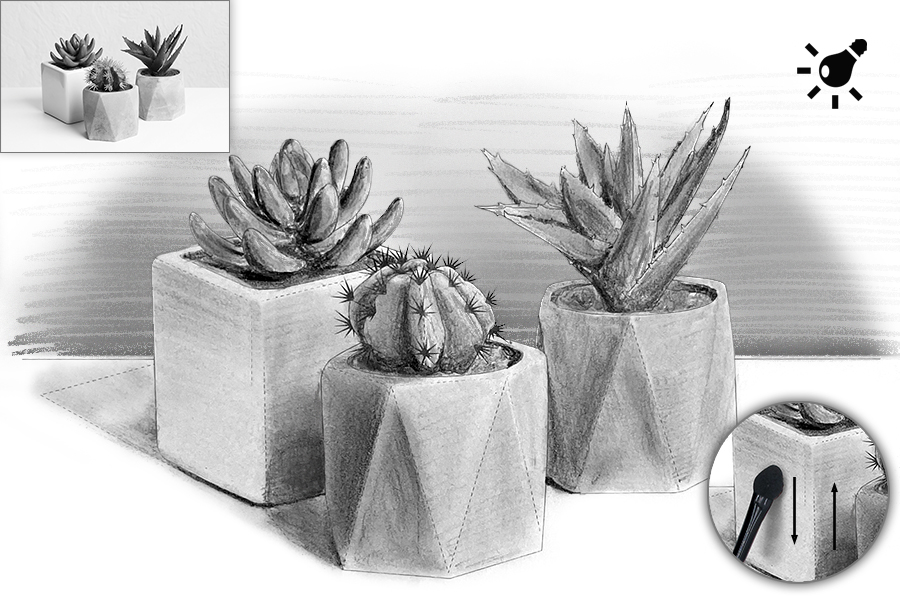
STEP 3:
Further darken the shadows on the succulents using your 6B pencil. Starting from the horizon line, use the 6B pencil to lightly shade the wall behind the succulents.
STEP 4:
Soften the appearance of the shading using a sponge applicator. In areas where the value moves from dark to light, lightly rub the blender from the dark areas to the light ones.
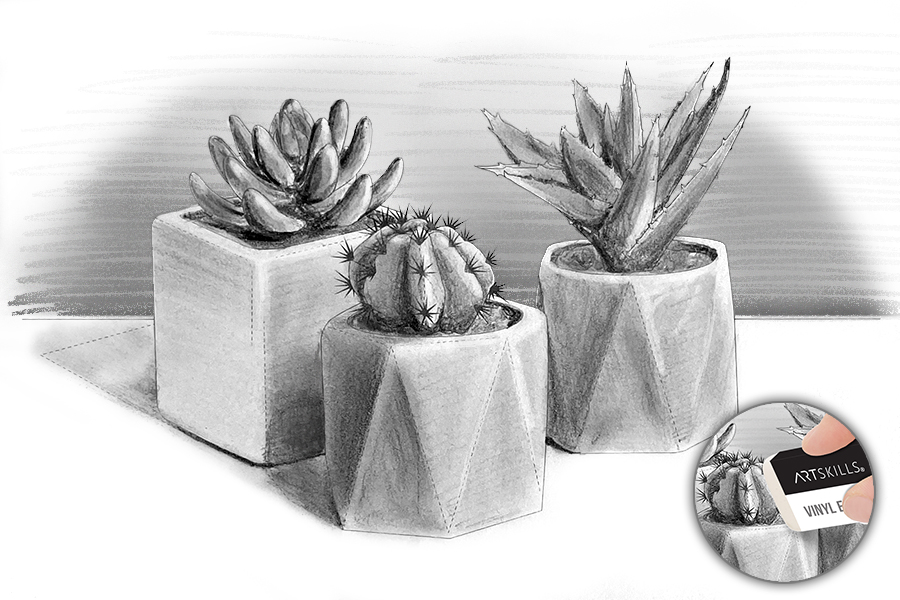
STEP 5:
Add your finishing touches by using a vinyl eraser and a kneaded eraser to clean up any stray marks and add subtle highlights to the edges of the pots and succulents.