This printable project teaches you tips and techniques about watercolors and the water brush pen, perfect for artists of any age! Follow the steps below to create a watercolor watermelon.
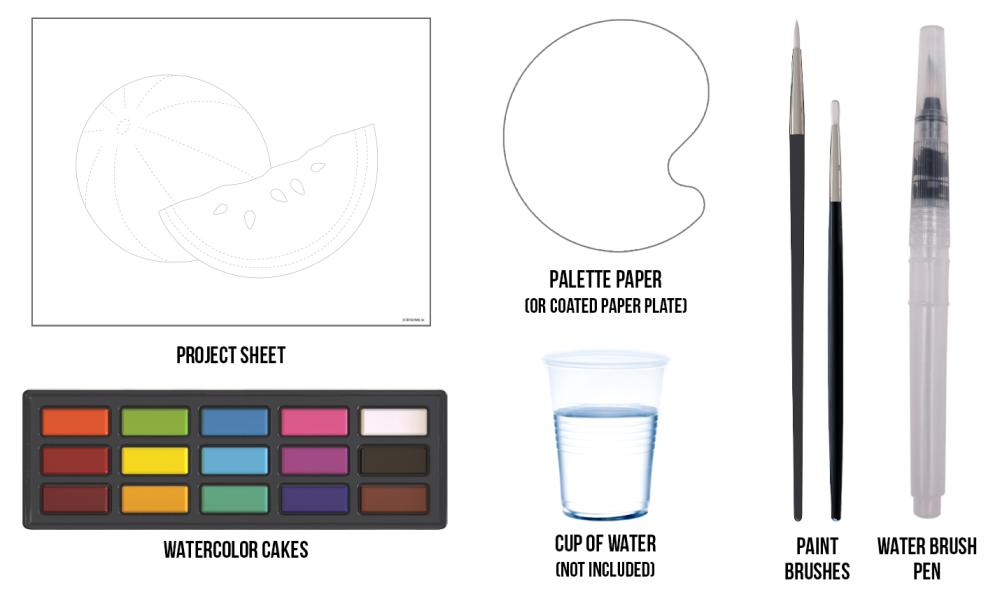
Supplies Needed
This project works best when using the materials shown below. Please Note: These items are found in the ArtSkills Stack & Store Art Set. Items not included are common household objects and should be easily accessible.
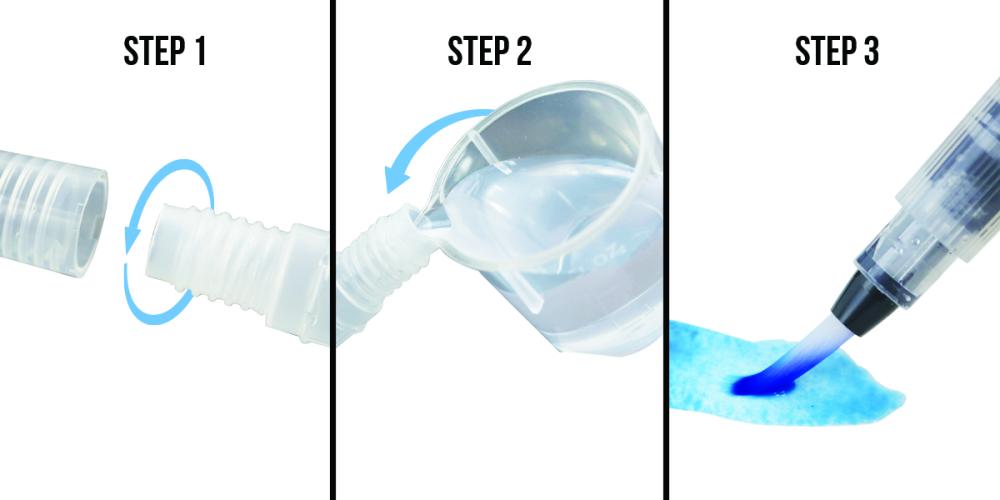
Water Brush Pen To fill your water brush pen, unscrew the feral from the handle in a clockwise direction. Once separated, fill the handle with water and twist closed in a counter clockwise direction. Lightly squeeze the handle to release water through the bristles while painting.
Tips & Tricks
Watercolor Paint Dries Lighter With watercolor paint, a color will always appear more intense (vibrant and darker) when it is wet. As it begins to dry the color will lose its intensity.
Test a Color First Watercolor paint dries very fast. Therefore, it's best to test a color on a scrap piece of paper.
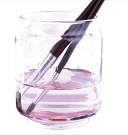
Keep Water Clean To prevent colors from getting muddy, it is important to wash off your brush when switching colors. Periodically replace the water in your cup to help keep your colors clean and bright.
Let's Get Started!
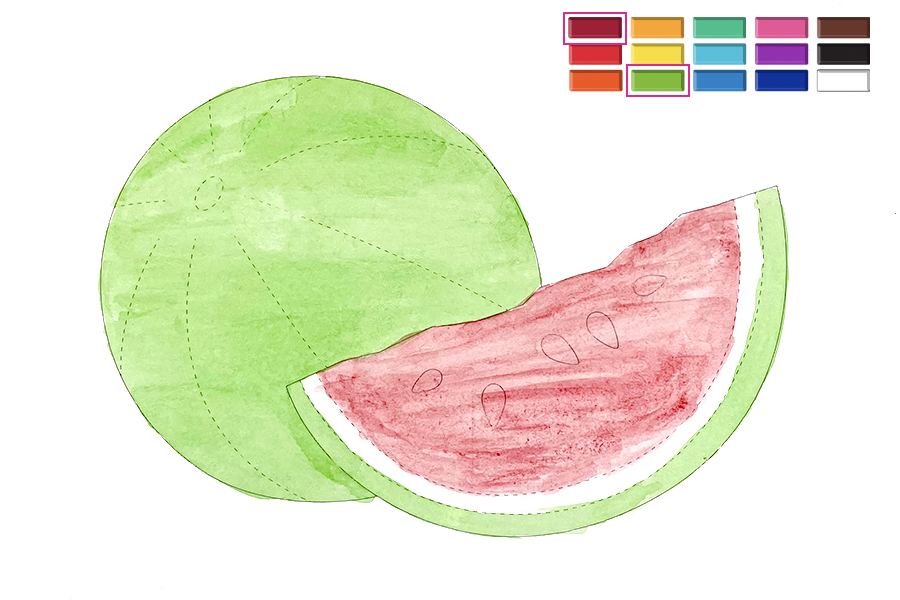
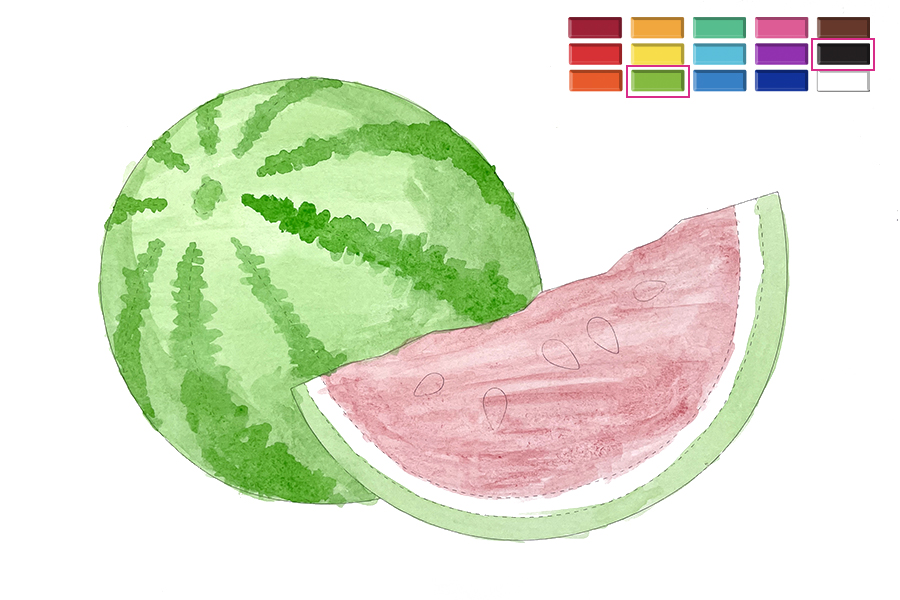
STEP 1: Lay Down Your Base On a sheet of palette paper, create a watered-down mixture of green paint and water. Make sure to create enough to cover the skin of the watermelon on the printout. With a brush, apply the mixture to the page to create a light layer over the skin of the watermelon. Avoid the white of the rind and the pink flesh areas of the watermelon. Those will be painted in later. When applying this layer, start at the top of the shape and work your way towards the bottom, overlapping your previous row as you go. This technique will allow a more even coverage of paint. After the green has dried, create light mixture of red paint and water to make pink and apply a light layer over the flesh of the watermelon.
STEP 2: Add Detail
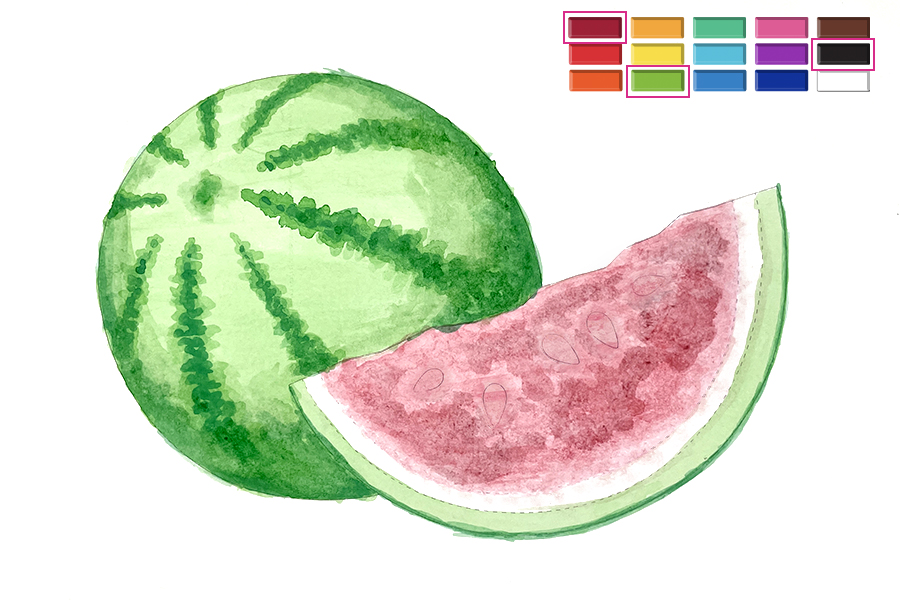
On a sheet of palette paper, create a darker mixture of green paint using light green and a little bit of black. Use the mixture to add in the stripes and shadows of your watermelon. To create the stripes, follow the dotted lines using a gentle dabbing motion. Gradually increase the width of your lines as you move away from the stem.
STEP 3: Layer
Wait for your paint to dry. Add additional layers of both the pink and green paints to the watermelon skin and flesh respectively until you’ve achieved your desired darkness. If your new lines are too harsh, dab at them with a clean, damp brush. The wetness of the clean brush will soften the edges and help blend into your previous layers.
STEP 4: Finalize Your Artwork
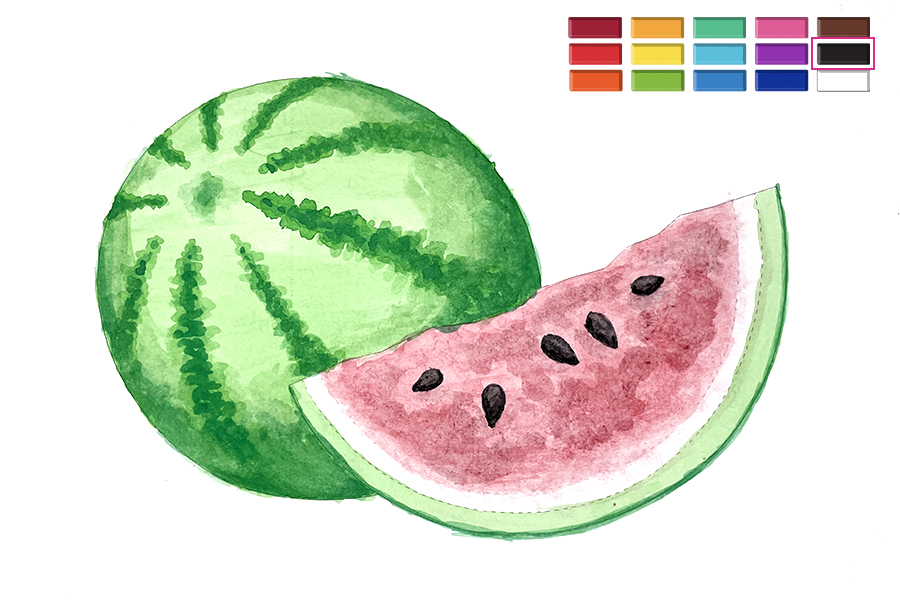
Add the finishing touches by filling in your seeds with black paint. You can use a clean damp brush to pull a little paint out of the seeds to create highlights.